
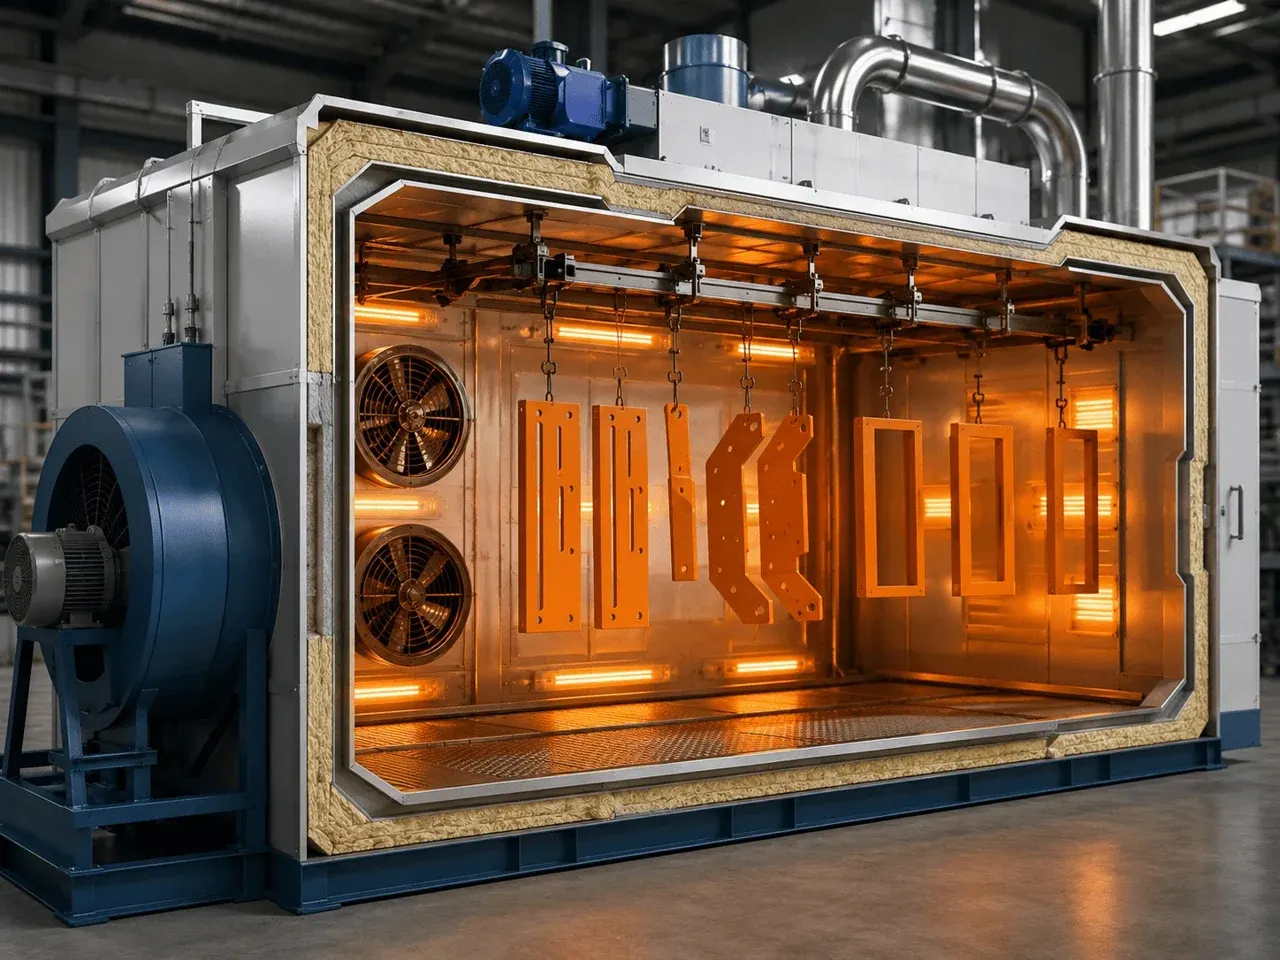
Thermal curing (baking) in the oven is the decisive stage of powder coating. It is the high temperature (160–200 °C) that turns the molten mixture of resins and pigments into a monolithic protective layer.
However, defects often show up only after the product has cooled. In this article we look in detail at the main powder coating problems that appear after curing, their causes and how to fix them.
Craters, pinholes and “fish eyes”
After the part leaves the oven, small through-holes or micro-craters exposing bare metal appear on the smooth surface.
Causes:
- Contaminated compressed air: water or oil droplets in the pneumatic system during spraying.
- Poor metal preparation: residues of grease, coolant or detergents in the pores of the workpiece that evaporate during baking.
- Incompatible paints: silicone dust or other powder types getting in (for example, mixing epoxy and polyester formulations).
How to fix:
- Install and regularly service high-quality water and oil separator filters in the air line.
- Improve degreasing and rinsing of parts before coating; make sure workpieces are completely dry before spraying.
- Keep the spray booth clean and never mix paints from different manufacturers.
Blistering, bubbles and peeling (poor adhesion)
After curing, the paint layer scrapes off easily, flakes or blisters under mechanical impact or bending.
Causes:
- Oxidation or rust: the paint was applied to metal with leftover mill scale, rust or corrosion.
- Under-curing (incomplete polymerisation): oven temperature too low or dwell time too short.
- Poor conversion layer: phosphating or passivation done incorrectly.
How to fix:
- Use proper sand or shot blasting or thorough chemical cleaning of the metal.
- Calibrate the curing oven with a temperature data logger (check that the time/temperature curve matches the paint specification).
- Check the thickness and quality of the phosphate or chromate layer.
Shade change, yellowing or loss of gloss
The colour of the finished product differs from the RAL reference, or a matt coating has turned glossy (or vice versa).
Causes:
- Over-curing (overheating): the oven temperature exceeded the permitted limit, or the part stayed in a hot zone for too long.
- Uneven oven heating: insufficient hot-air convection.
- Mixing different batches: powder from different series or different manufacturers was mixed.
How to fix:
- Adjust the heaters/burners and the ventilation inside the oven so heat is distributed evenly.
- Strictly follow the curing schedule given in the powder paint's technical data sheet (TDS).
- Use paint from a single batch for important orders.
Excessive or uncontrolled texture (orange peel effect)
Instead of a smooth finish, the surface develops a pronounced wavy texture, or, conversely, an intended fine texture comes out blurred.
Causes:
- Layer too thick or too thin: application thickness outside the norm (60–90 µm is optimal for smooth paints).
- Temperature rising too fast: the paint melted too quickly and did not have time to flow out before curing began.
- High melt viscosity: use of expired or damp paint.
How to fix:
- Monitor the uncured layer thickness during spraying and use a thickness gauge after baking.
- Set the oven heating rate so the mixture has an optimal flow (melting) phase.
Brittleness and cracking when bent
When the coated part is bent or installed, the coating cracks and crumbles.
Causes:
- Over-cured polymer: the resin structure degraded because of excessive heat treatment.
- Layer too thick: a layer over 150–200 µm loses elasticity (unless it is a special high-build paint).
How to fix:
- Reduce the oven time to the specified curing time.
- Set up the gun to apply an even, precise layer without overconsumption.
Conclusions
Most powder coating defects after baking are caused by not following the oven's time/temperature schedule, insufficient surface preparation or a contaminated air system. Systematic control of metal temperature and clean compressed air make it possible to avoid rejects completely and get a perfect finish with every load.