
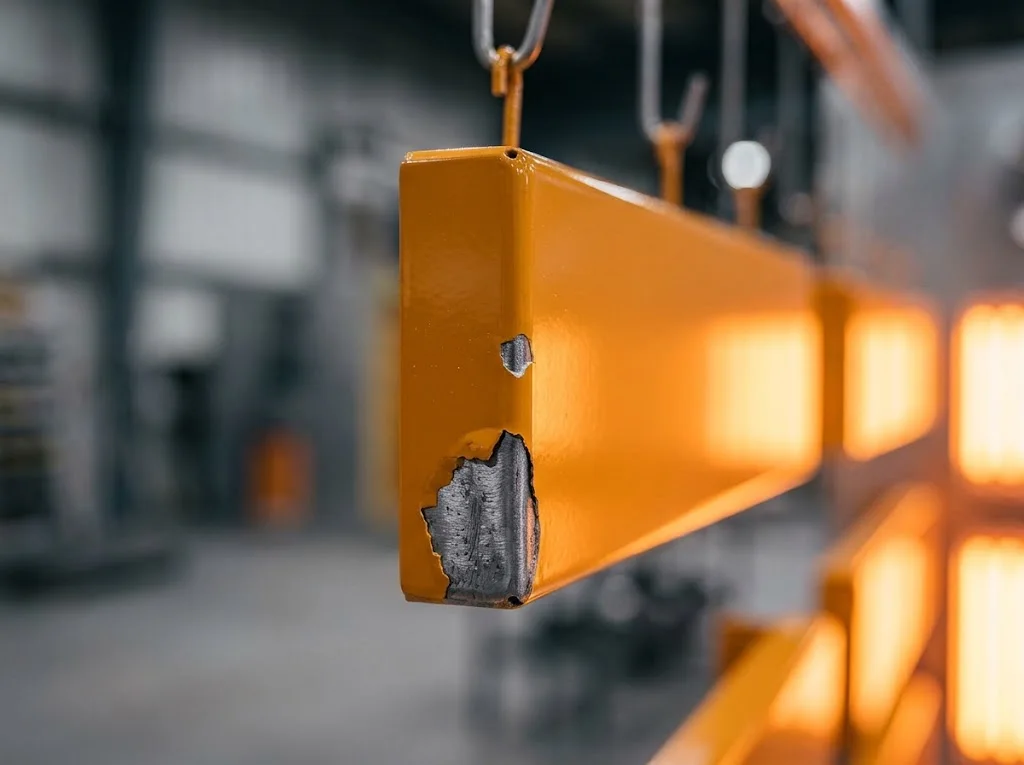
Powder coating is known for its high resistance to mechanical and chemical impact, but chips, scratches or deep damage can still appear during transport, installation or intensive use.
In this article we look at 3 main ways to repair powder coating, a detailed step-by-step procedure, typical mistakes and the cases when the product is better left to professionals.
3 ways to repair powder coating
Depending on the depth of the damage, the affected area and the appearance requirements, one of three restoration options is chosen:
Spot repair with liquid enamels (spray can or brush):
Used to fix small scratches and chips on installed structures that cannot be removed and put into a curing oven. Special air-drying acrylic or polyurethane enamels matched to the RAL chart are used.
Partial recoating with powder (local spraying):
Suitable for individual removable parts or elements: the damaged area is cleaned, a new layer of powder is applied with an electrostatic gun and heated locally (for example, with a heat gun or infrared dryer).
Full recoating:
The most reliable method for critical or badly damaged parts. The old layer is fully or partly sanded/removed, after which the product goes through the full cycle of preparation, powder application and oven curing.
Step-by-step powder coating repair (local method)
To fix a minor defect yourself with a liquid enamel of the matching shade, follow this procedure:
- Step 1. Cleaning and degreasing: Remove dirt, dust and oil stains from the damaged area with isopropyl alcohol or a special degreaser.
- Step 2. Sanding the edges: Use fine sandpaper (P400–P600) to feather the sharp edges of the chipped coating, creating a smooth transition to the bare metal.
- Step 3. Applying primer (if needed): If the exposed metal shows signs of corrosion or is carbon steel, apply an anti-corrosion primer and let it dry.
- Step 4. Applying the repair coating: Apply the enamel in a thin layer (by brush or from a spray can at 20–25 cm). If needed, apply 2–3 thin layers with drying in between.
- Step 5. Polishing: Once the paint is completely dry (after 24 hours), smooth and polish the transition area with a fine polishing compound.
The most common repair mistakes and how to avoid them
- Painting an unprepared surface: Dirt or oil under the new layer will quickly lead to blistering and peeling.
How to avoid: Always degrease the area thoroughly.
- Ignoring differences in gloss and texture: Using a gloss enamel on a matt or textured surface (moiré, fine texture) will make the repair spot very noticeable.
How to avoid: Choose the paint not only by colour but also by gloss level and texture.
- Too thick a layer of enamel at once: Leads to runs and long drying times.
How to avoid: Apply the paint in several thin layers.
When is it better to leave the repair to a coating workshop?
DIY spot repair is only suitable for hiding small defects. You should go to a specialised workshop if:
- The product is used in an aggressive environment (outdoors, in high humidity or exposed to chemicals);
- More than 10–15% of the total surface area is damaged;
- The product must look premium (visible façade parts, furniture, design elements);
- The coating has a complex texture (antique, metallic, moiré) that cannot be reproduced from a spray can.
Recoating a damaged part?
WE WILL MATCH THE COATING
When a repair involves recoating, everything depends on matching the original: colour, gloss and texture. We can reproduce the coating in any RAL, Pantone or NCS shade with the right gloss and texture, so the recoated part does not stand out from the rest of the surface. We will send samples before you order, so you can check the match yourself.